Why Does My DIY Mini Split Not Cool Well After Install?
So, you finally got your DIY mini split up and running—maybe it’s a Zone Air 12,000 BTU 230V wall-mounted system priced around $2,049-$2,599, or something from MrCool or Pioneer. You anticipated sweet, cool air flowing through your home, but instead you’re getting lukewarm air, short cycling, or just outright disappointment. Why does this happen, and how do you diagnose and fix it?
As someone who spent 12 years in residential HVAC service coordination and switched to hands-on DIY installs, I’ve seen this scenario play out countless times. The good news: most mini split cooling problems after install come down to a handful of key issues that can be avoided or corrected with some basic troubleshooting.
Understanding True DIY vs Semi-DIY Mini Splits
Before digging into troubleshooting, it’s crucial to clarify the distinction between true DIY mini split systems and semi-DIY models.
- True DIY Systems (e.g., many MrCool products) use pre-charged, quick-connect refrigerant line sets that don't require refrigerant charging or vacuum pumping on site. This can significantly reduce installation complexity.
- Semi-DIY Systems, like those from Zone Air and many Pioneer models, partially come assembled but require a vacuum pump and manifold gauges to evacuate the system and charge refrigerant during installation.
Ignoring the need for a vacuum pump or proper charging for semi-DIY systems is a recipe for poor cooling performance right out of the gate. Let me tell you about a situation I encountered was shocked by the final bill.. If your mini split requires evacuation or charging but you relied solely on the pre-charged lines or skipped vacuuming, that's a likely cause of your cooling woes.
Common Reasons Your DIY Mini Split Isn’t Cooling Well
1. Sizing Problem: Too Big or Too Small
One of the most overlooked issues is sizing problem. Anyway,. HVAC pros often advise “right size” equipment based on detailed Manual J load calculations, but DIY homeowners sometimes pick an off-the-shelf unit without considering their home's cooling load.
- Oversized units cool too quickly and short cycle, never running long enough to properly dehumidify.
- Undersized units run constantly but struggle to reach set temperatures, resulting in weak airflow and poor comfort.
Before buying, check your home’s square footage, insulation, window count, and sun exposure to calculate an appropriate BTU rating. Your Zone Air 12,000 BTU 230V model might sound perfect for a 500 sq ft zone, but on a larger room it will sputter and underperform.
2. Air Leakage and Poor Indoor Unit Placement
Another major factor is air leakage within the home or the mini split duct connections (if any). Leaks around windows, doors, or poorly sealed indoor unit mounts cause outside air to dilute the conditioned air, lowering cooling effectiveness.
Be sure the wall or ceiling penetration for refrigerant and wiring is well sealed. Also consider airflow:
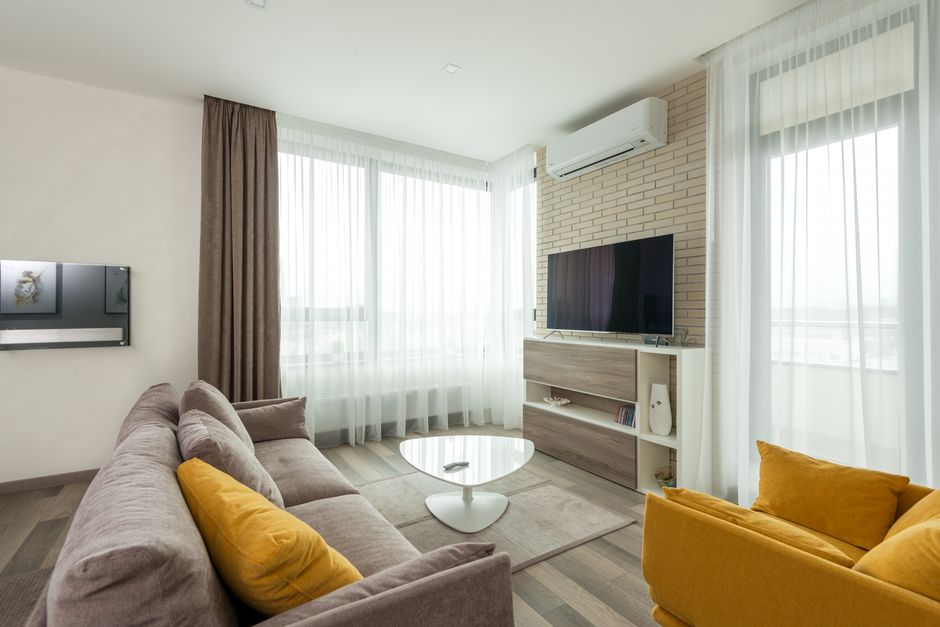
- Obstructions such as curtains or furniture in front of the indoor evaporator coil reduce air delivery.
- Improper mounting height (too close to the ceiling or floor) can affect air circulation.
3. Condenser Clearance and Outdoor Obstructions
Your outdoor condenser unit needs proper clearance for efficient heat rejection. Stuff like dense shrubs, fencing tighter than 2 feet clearance, or debris against the condenser fins can starve your system of airflow.

Inadequate clearance forces the condenser to work harder, resulting in higher head pressures and reduced cooling efficiency. Check the outdoor unit has:
- At least 24 inches of clearance on all sides
- Clean, undamaged fins
- Stable mounting feet or pad to keep it level
4. Refrigerant Connection Method: Vacuum Pump and Manifold Gauges are Essential
This is where a lot of DIY installs hit a snag. Unless your mini split is one of those TRUE DIY models with pre-charged quick-connect line sets—like many from MrCool—your system requires:
- Vacuum pumping: Removing moisture and air from the refrigerant lines before charging.
- Proper refrigerant charging: Verified through manifold gauge readings.
Using a vacuum pump and manifold gauges is not optional for semi-DIY systems like Zone Air or many Pioneer models. Skipping this step traps air and moisture inside, which drastically reduces cooling ability and can corrode internal components over time.
The Changing Landscape: SEER2, HSPF2, and the R-454B Refrigerant Transition
The HVAC industry is evolving. Beginning in 2026, new efficiency standards will require all mini split manufacturers to shift from SEER to SEER2 and HSPF to HSPF2 ratings, which are measured differently and generally lower numerically but represent stricter testing. This means you might see different energy efficiency numbers for the same physical unit model after 2026.
Along with this, the refrigerant transition from R-410A to R-454B is underway. R-454B is a lower global warming potential (GWP) refrigerant but has different operating pressures and charging requirements. Make sure your tools and techniques reflect this new standard, especially if you’re considering semi-DIY systems that need refrigerant charging.
Checklist: Diagnosing and Fixing DIY Mini Split Cooling Problems
Potential Issue Description Recommended Action Sizing Problem Unit capacity doesn’t match room cooling load. Recalculate room size; upgrade to correct BTU rating. Air Leakage/Indoor Unit Placement Leaks reduce conditioned air; poor mounting restricts airflow. Seal gaps, reposition indoor unit, remove obstructions. Condenser Clearance Outdoor unit blocked or too close to objects. Clear at least 24" around condenser; clean fins. Refrigerant Line and Charging No vacuum pumping or improper charge. Use vacuum pump and manifold gauges; refer to manufacturer specs. Legacy vs New Regulations Using old equipment or improper refrigerant per new standards. Confirm refrigerant type; research SEER2/HSPF2 compliance post-2026.Wrapping It Up: Stay Ahead of Your Mini Split Cooling Troubles
Bottom 115v vs 230v mini split line: mini splits have become significantly more accessible for homeowners thanks to companies like Zone Air, MrCool, and Pioneer, but they still demand respect and understanding of HVAC basics.
If you’re working with a true DIY system—for example, MrCool’s line with pre-charged quick-connects—you’re off to a good start, but always double-check the electrical requirements and confirm your system matches the room size.
For semi-DIY options like Zone Air systems priced in the $2,049-$2,599 range, or Pioneer minis splits, arm yourself with a quality vacuum pump and manifold gauges. Don’t skip the evacuation and refrigerant charging step, or your system just won’t cool reliably.
Last but not least, keep an eye on the coming regulatory changes around SEER2, HSPF2, and the R-454B refrigerant replacement. These will impact both equipment selection and servicing techniques going forward.
With solid prep, proper tool use, and a sharp eye on sizing and installation details, your DIY mini split can deliver the cool comfort you’re after. Happy cooling!