Cooper & Hunter Hyper Heat: Real-World Install Difficulty for DIY
A Cooper & Hunter Hyper Heat mini split can look like a straightforward weekend project: mount the indoor head, set the outdoor unit, connect the lines, and turn on the heat. In practice, the difficulty depends less on the brand name than on the specific model, its connection system, your electrical setup, and how comfortable you are working precisely.
The biggest DIY divide is between a genuinely simplified, pre-charged connection system and a conventional installation that requires flare fittings, evacuation, and pressure testing. A Hyper Heat label also deserves a close look: cold-climate performance is about delivered capacity at low outdoor temperatures, not just whether the unit can technically keep running. This guide explains what homeowners should expect from a cooper and hunter install, where the hard parts usually are, and how to compare the overall value with Zone Air, MRCOOL, and Senville.
First, Identify the Exact Cooper & Hunter Model
“Cooper & Hunter Hyper Heat” is not enough information to plan an installation. Product families and specifications vary, so check the exact indoor and outdoor model numbers, voltage, approved line-set sizes and lengths, minimum operating temperature, and capacity at low outdoor temperatures. Confirm that the indoor and outdoor units are listed as a matched combination.
Also check what the manufacturer means by “DIY friendly.” It may describe a simpler connection method or included installation materials; it does not automatically mean every step is tool-free, permit-free, or covered under every warranty when done by a homeowner. Read the current installation manual for the specific equipment before buying or drilling holes.
True DIY Versus Flare-Install Reality
Pre-charged or quick-connect systems
Some mini splits are sold with pre-charged line sets or simplified connectors intended to reduce field refrigerant work. These can be more approachable for a capable homeowner because they may avoid making conventional field flares and using a vacuum pump. But “simplified” is not the same as “impossible to damage.” The connector must be the correct type, clean, properly aligned, and tightened as directed. A connection that is cross-threaded, contaminated, or forced can leak just as surely as a poorly made flare.
Never assume a Cooper & Hunter Hyper Heat model uses a quick-connect system just because another product from the same brand does. Verify the connection method and the approved line set for your exact model. If it requires conventional flares, plan for a more technical installation.
Conventional flare installations
With a conventional system, the copper line set must be cut cleanly, deburred, and flared to the correct dimensions. The flare face needs to be smooth and even, with no cracks, scratches, or uneven edges. The fittings are then tightened to the manufacturer’s specified torque. Too loose can leak; too tight can deform the flare or damage the connection.
That is the practical flare fitting difficulty: each individual step sounds simple, but small mistakes can be expensive. A flare that looks acceptable from the outside may still fail a leak test. Correct tubing size, a proper flaring tool, a torque wrench, and careful workmanship matter. Follow the manual rather than relying on a generic torque value or a video for a different unit.
Conventional installations also typically require a pressure test and evacuation before opening the service valves. This is where DIY assumptions often fall apart. A basic tool kit is not a substitute for knowing how to use it, interpret readings, and identify a leak or moisture problem.
Tools and Skills: What the Job Really Calls For
For a conventional flare installation, the required diy hvac tools may include a tubing cutter, deburring tool, correctly sized flaring tool, torque wrench, and leak-detection supplies. Depending on the manufacturer’s procedure and local requirements, evacuation and testing equipment may also be needed.
- Vacuum pump: Used to evacuate the line set and indoor coil when the installation procedure requires it. Running the pump is only part of the task; the installer must also verify that the system holds the required vacuum according to the manual.
- Manifold gauges: Used for system diagnostics and pressure checks. Gauges do not, by themselves, prove that a system is leak-free or properly evacuated.
- Flaring and torque tools: Important for making consistent connections and tightening them to the specified values.
- Electrical test equipment: Useful for verifying supply and connections, but electrical work should be done only within your skill level and local code.
Do not vent refrigerant or attempt repairs that require handling refrigerant without the qualifications and authorization required by law. In the United States, federal refrigerant-handling rules may apply, and local permits or electrical codes may add further requirements. When in doubt, hire a licensed HVAC technician for the refrigerant-side work and ask the seller how that affects warranty coverage.
Cold-Climate Ratings and Capacity Drop
Hyper Heat and similar cold-climate claims are useful starting points, not a substitute for checking the performance table. Heat pumps generally deliver less heating capacity as outdoor temperatures fall. The amount of reduction varies by model, and the published low-temperature operating limit does not necessarily mean the unit can deliver its full rated capacity at that temperature.
Before choosing a system, compare the manufacturer’s capacity data at the temperatures that matter in your area. Pay attention to both the minimum operating temperature and the heating output at that point. A unit may continue operating in very cold weather while producing substantially less heat than it does in milder conditions. Defrost cycles can also temporarily affect delivered heat.
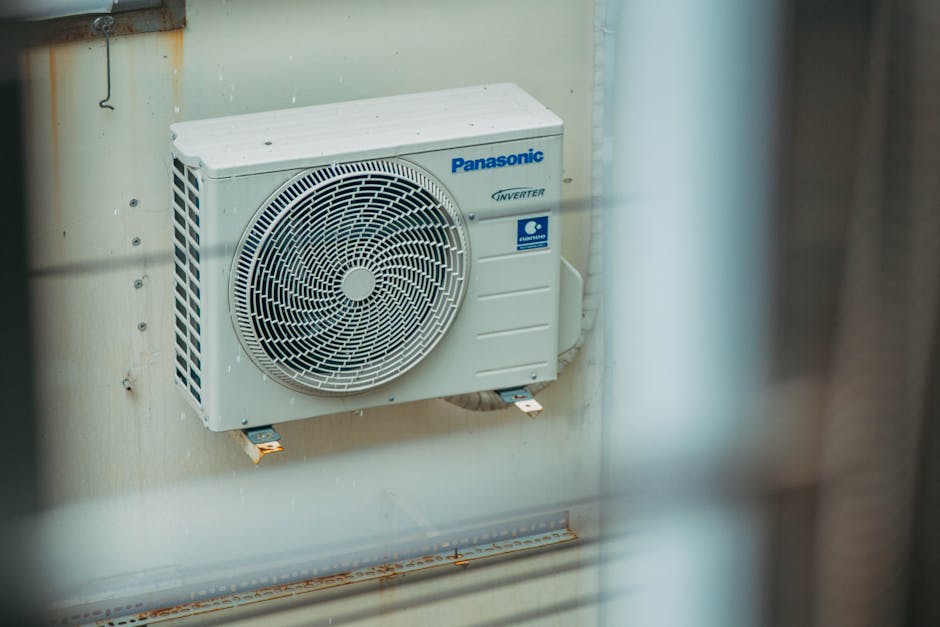
Size the equipment for the room or zone using a proper load calculation, not just a rule of thumb based on square footage. Consider insulation, air leakage, ceiling height, windows, and the coldest local design temperature. If the heat pump cannot cover the home’s load at design conditions, decide in advance whether another heat source is available. For a whole-home project, a contractor can help compare the calculated load with the unit’s capacity data.

115V Plug-In Convenience Versus 230V Hardwire Costs
A 115V unit can be appealing where the model is specifically designed for a suitable plug-in connection and an appropriate circuit already exists. It may reduce the scope of electrical work compared with installing a new 230V circuit. But the receptacle, circuit rating, wiring, breaker, and any required disconnect still have to meet the equipment instructions and local code. A household outlet is not automatically suitable simply because it is nearby.
Many larger systems, including many cold-climate models, require 230V power and a dedicated circuit. That can mean additional cost for a correctly sized breaker, cable, disconnect, and electrician labor, especially when the electrical panel is far from the outdoor unit or has limited capacity. The exact cost depends on the property and local labor rates, so get an electrical quote before treating the equipment price as the whole project budget.
Consideration 115V, when supported by the model 230V, common on larger systems Power connection May use a suitable existing circuit and approved plug Usually requires a dedicated, properly sized circuit Electrical work Potentially less work if the existing supply is compliant May require new wiring, breaker, and disconnect Key caution Do not use an undersized or shared circuit Confirm panel capacity, wire size, and code requirementsVoltage is not a DIY shortcut or a reliable indicator of heating performance. Compare the actual model specifications and account for the electrical work in the total installed cost.
How Zone Air and MRCOOL Compare on Value
When comparing equipment, look beyond the headline price. Check what is included, whether the line set matches the intended route, the warranty conditions, support availability, parts access, and whether a professional installation is required or recommended. A lower equipment price may not be the better value if the electrical work, accessories, or labor are higher.
As one price reference, a Zone Air 12,000 BTU single zone typical price: ~$1,999 direct. Treat that as an example rather than a guaranteed current price: configuration, included components, sales, and shipping can change the total. Zone Air may be worth comparing for shoppers who want a direct-purchase option and clear specifications. Confirm the exact connection style, cold-weather capacity, and included line-set details before ordering.
MRCOOL is often considered by homeowners looking for DIY-oriented installation options on certain product lines. Its value depends on the specific model and its connection system, not simply the brand. Compare the approved line length, connection requirements, performance data, warranty terms, and replacement-part support with the Cooper & Hunter model you are considering.
Cooper & Hunter and Senville also offer multiple product families, so make a model-to-model comparison rather than assuming every unit has the same install difficulty or cold-weather performance. For all three brands, verify whether a system is a conventional flare install or uses a manufacturer-approved simplified connection system. Ask who will handle the refrigerant-side work if you do not plan to do it yourself.
Common DIY Problems to Plan Around
- Ordering the wrong line set: Diameter, length, and connection type must match the model. Do not assume a longer line set is always acceptable.
- Choosing a difficult mounting location: The indoor head needs suitable clearances and condensate drainage; the outdoor unit needs a stable base, airflow, and access for service.
- Ignoring condensate drainage: A drain that lacks proper slope or has a poor route can cause water damage or drainage problems.
- Underestimating wall penetrations: Check for wiring, plumbing, structural members, and exterior clearances before drilling.
- Skipping the electrical plan: Confirm voltage, minimum circuit requirements, breaker sizing, disconnect requirements, and local permit rules before purchase.
- Assuming “runs” means “installed correctly”: A unit may start while still having a leak, poor drainage, incorrect wiring, or a commissioning issue.
A Practical DIY Decision Checklist
- Write down the complete indoor and outdoor model numbers, then download the current installation manual.
- Confirm the connection method and buy only the approved line set and accessories.
- Check heating capacity at local winter temperatures, not just the lowest operating temperature.
- Confirm the electrical supply and get an electrician’s estimate if a new 230V circuit may be needed.
- Check permit rules, warranty conditions, and any requirements for professional commissioning.
- Decide honestly whether you can make reliable flares, test connections, evacuate the system, and document the results—or arrange for a qualified technician to handle those steps.
So, Is a Cooper & Hunter Hyper Heat Install a Good DIY Project?
It can be manageable for a capable homeowner when the exact model’s installation method, site conditions, electrical supply, and local rules all line up. A simplified connection system can make the process more approachable, but careful mounting, drainage, electrical planning, and manufacturer-specific setup still matter. A conventional flare installation is a different level of work: making and checking refrigerant connections correctly is not the place to learn by trial and error.
The best buying decision comes from comparing the complete project rather than the box price: installed electrical cost, included materials, verified low-temperature capacity, connection requirements, warranty terms, and access to service. Compare Cooper & Hunter with Zone Air, MRCOOL, and Senville using those same factors. If you are unsure about https://www.re-thinkingthefuture.com/article/best-diy-mini-split-for-cold-climate-heating-in-2026/ flares, evacuation, or electrical work, bringing in a professional for the technical portions can be cheaper—and safer—than correcting a preventable installation problem later.